 Lecture Capture (Replay)
The Lecture Capture service (called Replay) has been available across the University for a number of months now. The service is free of charge to departments at the point of use, this means that the software which is used to capture lectures (Panopto) can be installed on any number of computers in any number of rooms, or on any personal laptops.
Replay is an IMS LTI (Learning Tools Interoperability) tool that handles user authentication via WebLearn, before linking to Panopto.
A July 2016 blog post about Replay provides more information about the service.
Adding the Replay tool to a WebLearn site
Recorded lectures are made available to students by adding the Replay tool to a WebLearn site (‘Site Info’ > ‘Manage Tools’ then select the ‘Replay’ tool at the bottom of the list of tools). All site participants will be able to view the lectures in the Replay folder.

Once the tool has been added, it can be used to upload existing videos or record new ones for use in teaching. For example, a lecturer can record video snippets on their own laptop to reinforce certain topics, dispel misconceptions, or present background/supplementary information before delivering the live lecture; or, of course, record the live lecture for students to refer to later for revision and reinforcement.
The Replay tool can be accessed by students either in the left hand tools menu (with a default title of ‘Recorded Lectures’) – this will happen automatically after having added the tool as described above; and/or as a hyperlink on a ‘Lessons’ page (see next section).
The following options are available for linking to Replay recordings:
- one entire folder containing multiple recordings (covered in this blog post)
- multiple folders of recordings from a single WebLearn site
- one individual recording within a Replay/Panopto folder.
The second and third possibilities are ‘advanced options’, described in a separate blog post.
Linking to a Replay folder from within a Lessons page
The Lessons tool is a relatively new addition to WebLearn. We recommend that all student-facing content be developed within the Lessons tool (rather than as an HTML page in Resources). Lessons is far better for developing structured ‘learning pathways’ for students and it offers better authoring capabilities compared to an HTML page (in Resources).
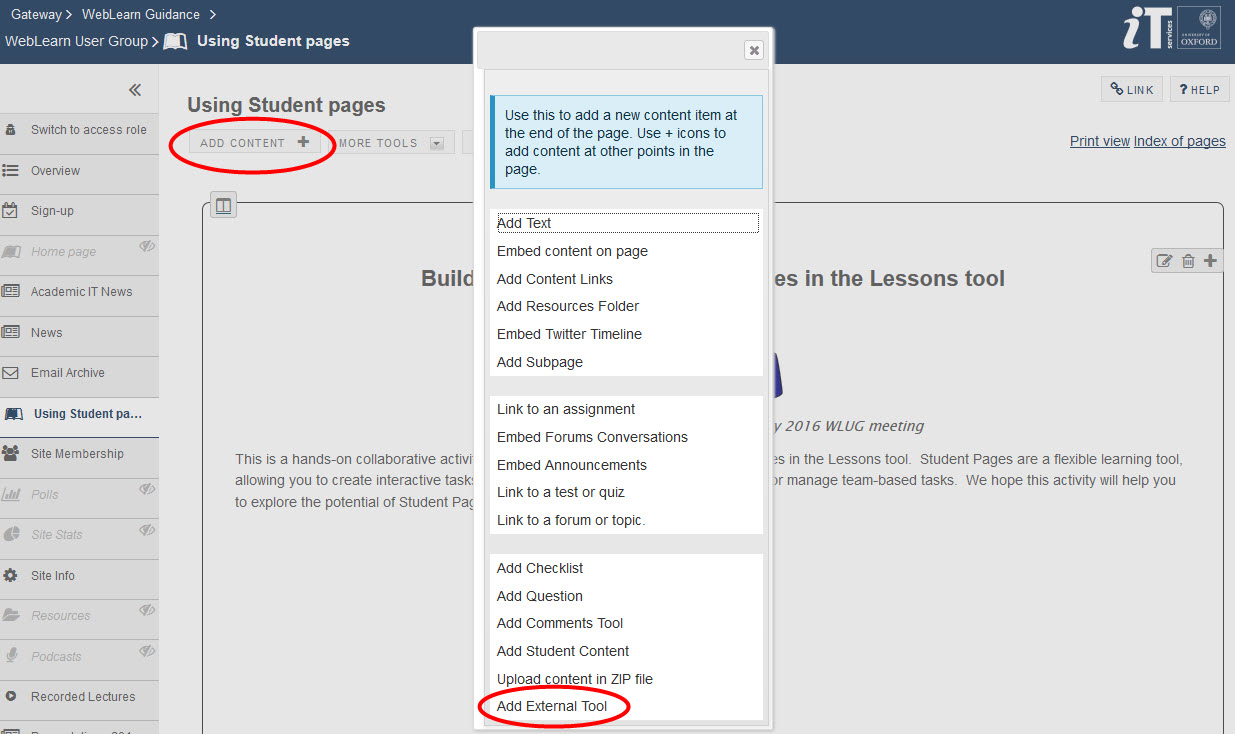
To add a link to the Replay tool from within a Lessons page, go to the Lessons tool and click on the ‘Add Content‘ link, then click ‘Add External Tool’. (NB: the Replay tool must have already been added to the site as described above.)
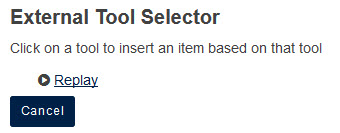
Then click on ‘Replay’:
Name the link using the ‘Button Text’ box (e.g. ‘Video folder’), and choose a custom icon if you wish to replace the default icon. For this example, we will leave the ‘Custom Parameters’ box blank (this option allows you to provide the URL and link to a particular recording within Panopto – see our separate ‘advanced options’ blog post). Click ‘Save’ at the bottom of the screen.

You will see the Replay tool linked from your Lessons page. This link will open the Panopto folder associated with this WebLearn site, and all the recordings it may contain.

The best user experience is when Panopto is opened in a new window; to change this, click on the edit button (‘pencil’ icon) alongside the item and elect to have it open in a new window: 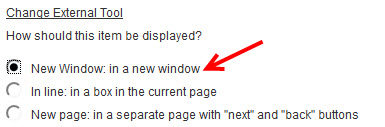
More information
- Lecture Capture and WebLearn blog post March 2017 (basic info)
- Advanced options for embedding Replay lectures in WebLearn blog post May 2017 (using ‘Custom Parameters’)
- Lecture Capture (Replay) help
- Lecture Capture (Replay) support site in WebLearn (join the site to register automatically on the mailing list):
- Contact Replay: replay@it.ox.ac.uk
- Panopto website